Brooklyn has been a bun lover for ages! We joke that she is the most likely to become a librarian, not only because of her huge love of reading, but because her go-to hairstyle is always the Librarian Bun!
In 2013, our good friend, Princess Hairstyles, created a Pinwheel Bun, using single strand twists to add texture that we loved. Then, a few of our viewers experimented with her tutorial in combination with our Love Bun this past Valentine’s Day.
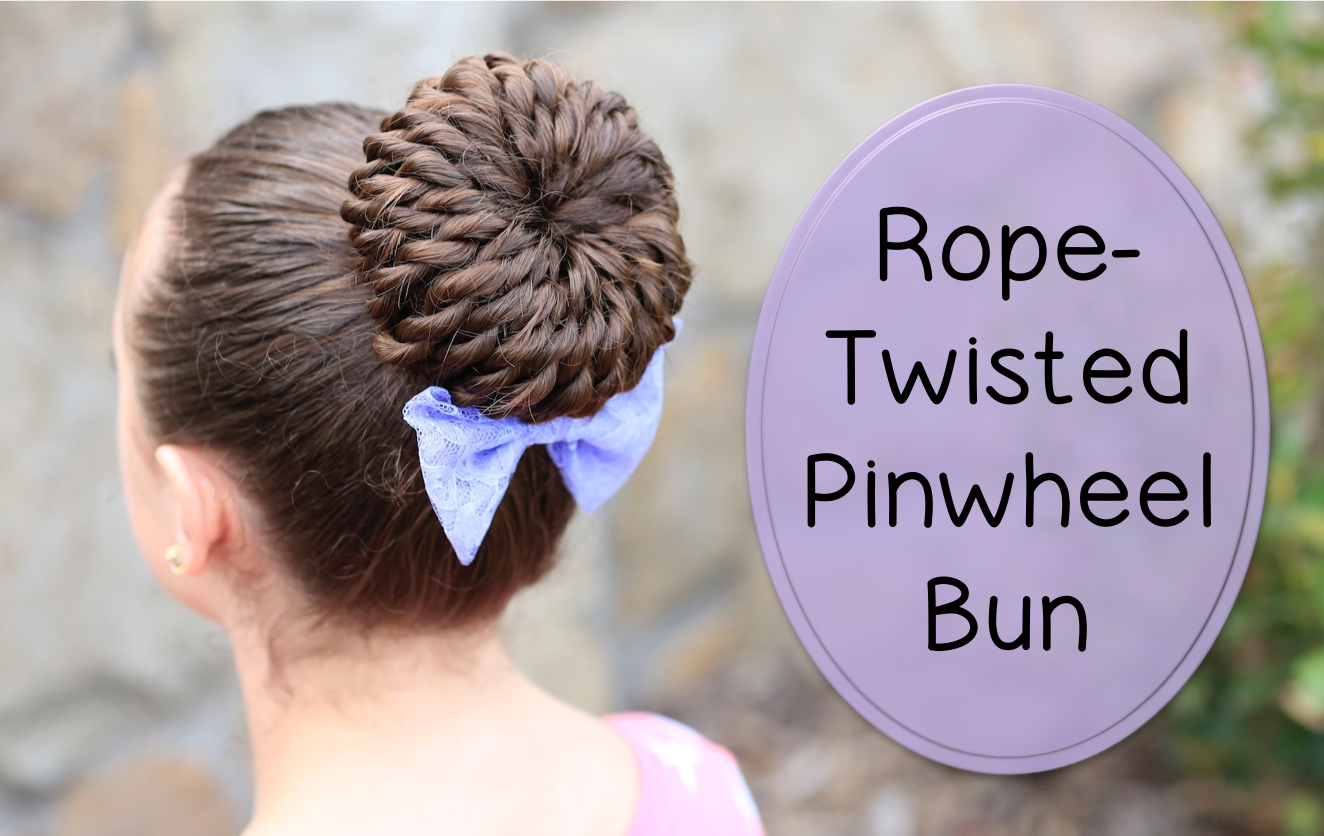
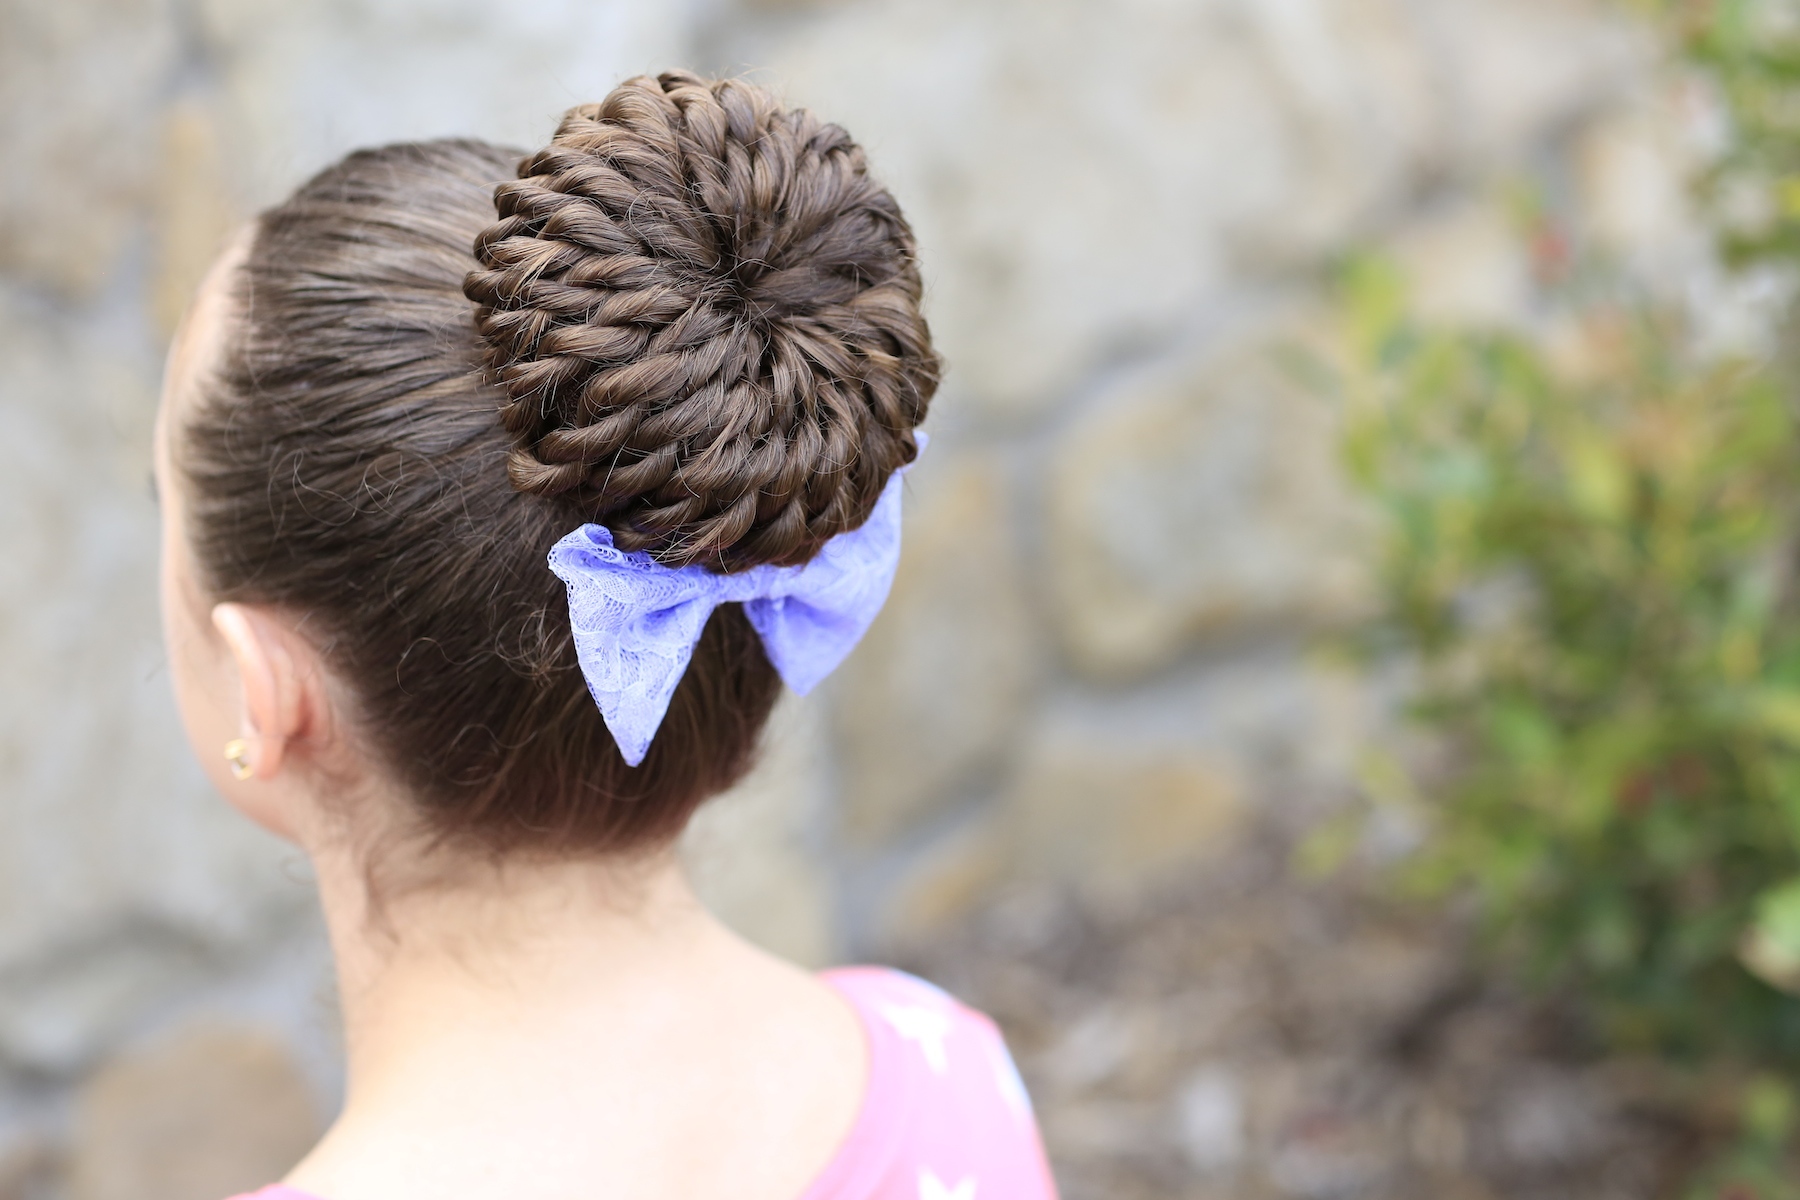
Brooklyn wanted to create a bun that had even more texture, in a duplicating pattern, that would really stand out. We decided to test out using micro rope twists to create this effect, and the end result was absolutely STUNNING!

This bun will certainly be a highlight of any hairstyle combination you use. We imagine this Rope-Twisted Pinwheel Bun being a personal fan favorite for formal dances such as Prom or Homecoming, or for events such as graduations or weddings, etc.
It doesn’t have to stop there… the bun can be perfect for sports, gymnastics, cheer, ballet, etc, because the bun holds up so well during activity. Brooklyn wore this bun for two days straight, and hardly needed any time to spruce it up the second day!
This tutorial is absolutely adorable, and you can share/pin it <——- here!


Enjoy!
Items Needed: Brush, rat-tail comb, spray bottle, 1 ponytail holder, 1 bun maker {matching color of hair}, 4-6 bobby pins, hairspray and accessory {if desired}.
Time Requirement: 15-20 minutes
Skill Level: Hard {mostly because of time}
Step-by-Step Instructions:
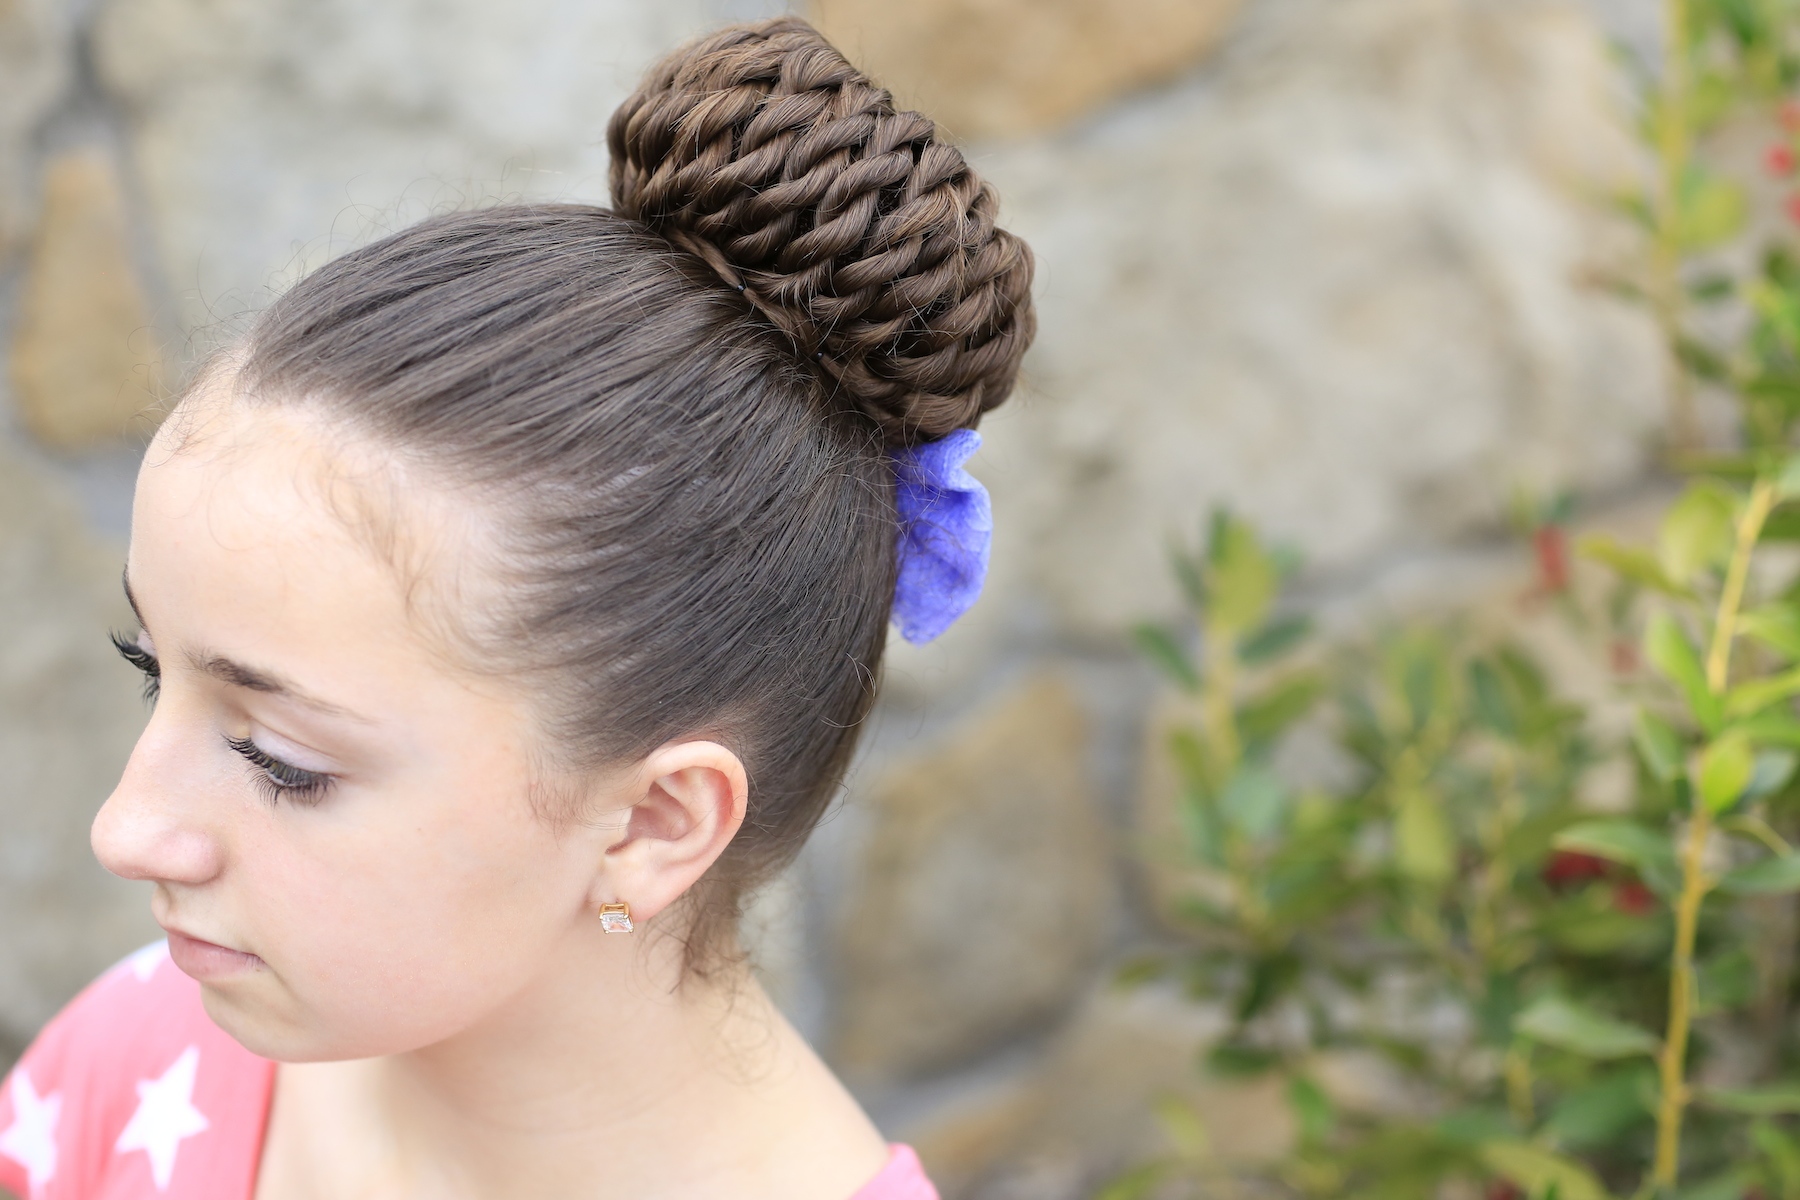
- Begin by placing hair into a high ponytail…
- Next, take your bun maker {matching the hair color} and, pulling the hair through it, slide it down to the base of the ponytail…
- Now let the hair fall down evenly over bun maker…
- Create a little separation on one side of the bun, where you will begin the rope twists…
- Next, pick up a small section of hair and divide it into two small strands…
- Now, twist both pieces each in the same direction a few times, and then twist them together in the opposite direction {this is the standard rope braiding technique, and you should only need to twist down about 4-5 inches or so}…
- Then, you will reach two fingers down through the middle of the bun maker, grabbing the twist you just created, and pulling it up through the middle of the bunker…
- Now untwist any ends,if they are still twisted at all, and pick up some additional hair to combine with your strand…
- Again, separate the section of hair into two strands, making sure to divide the shorter strands evenly with the newly added-in hair…
- Repeat Steps #6-9 until the entire bun maker is covered with the rope-twisted strands…
- When you get to the last rope twist, pull it through the bun maker and then rope twist the ends all the way down the strand…
- Now, take the end and wrap it under the bun, around the ponytail holder, and bobby pin it securely into place.
- Perfect your bun by tucking any layered wispies underneath the neighboring twist, and spread the twists out evenly around the bun…
- Add hair wax or hairspray {as desired}, and a cute accessory.
Please feel free to leave me a comment below letting us know what you think of this Rope-Twisted Pinwheel Bun undo! As always, if you loved this hairstyle, please feel free to share it!
Happy Hairstyling!
via:http://www.cutegirlshairstyles.com/hairstyles/time/15-20mins/rope-twist-pinwheel-bun-prom-hairstyles/
No comments:
Post a Comment